
Getting Started
This walks through connecting a UniFi controller, syncing its sites into Atrium, and building your first portal. Once a portal exists, see Configure UniFi to point guest WiFi at it.
1. Add a controller
Under Controllers → Add Controller, choose:
- Self-hosted - a UniFi Network Application you run yourself, reached by URL.
- UniFi Site Manager (cloud) - Ubiquiti's hosted controller.
For self-hosted controllers, authenticate with either a username/password or an API key generated in UniFi OS → Integrations (API keys bypass 2FA on the controller account, which is usually the more convenient option for an integration like this).
A controller can be platform-owned (visible to superadmins only) or tenant-owned - assigning a controller to a tenant grants every user in that tenant visibility of every site on it. Set an automatic sync interval (hourly out to every 7 days) or leave it on manual.
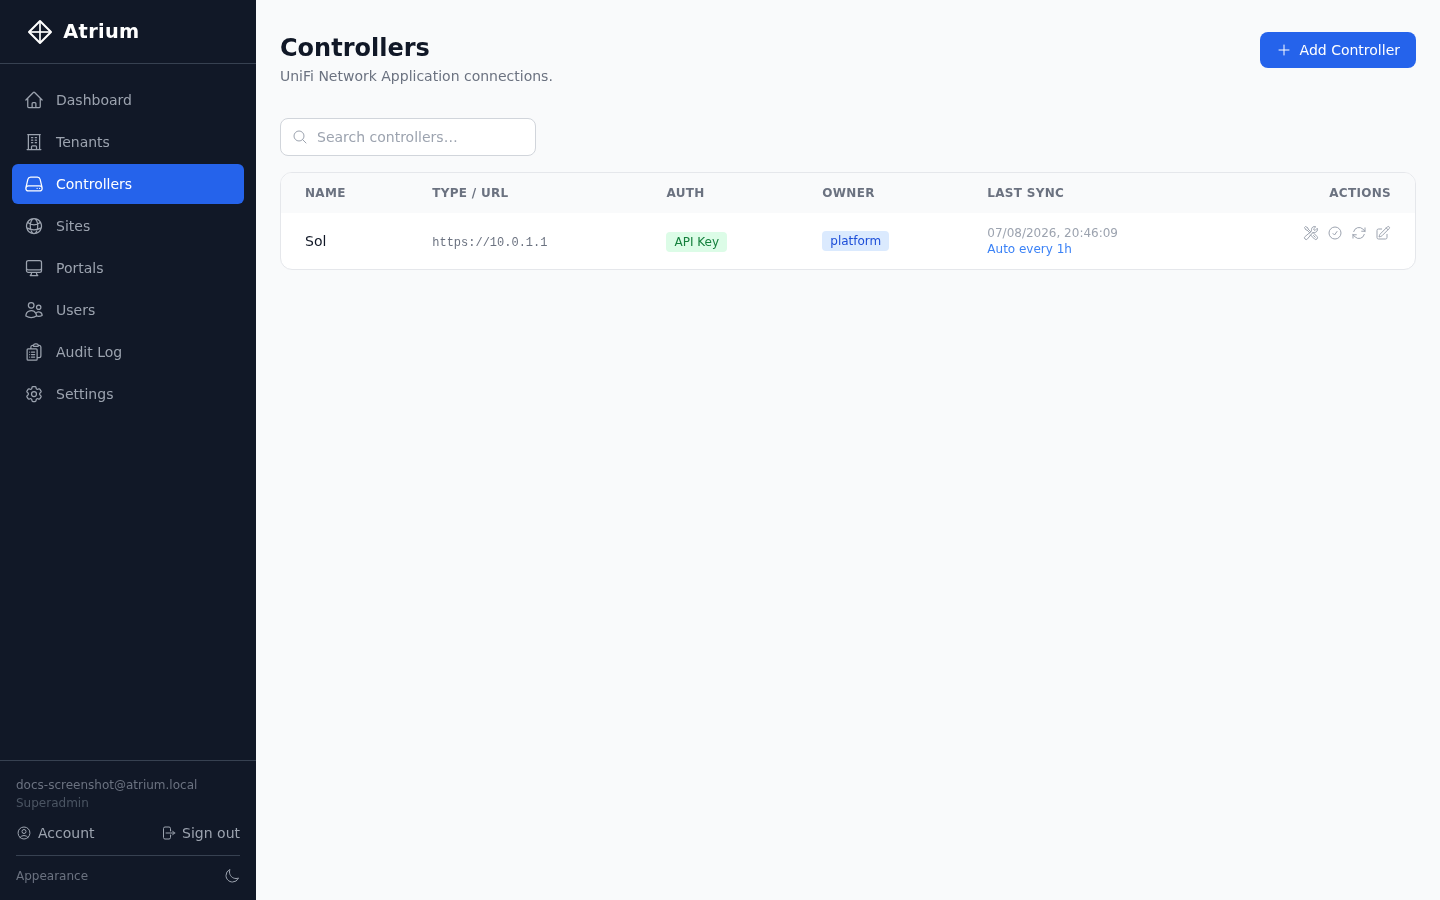
Saving the controller runs an initial sync, pulling in its sites and access points.
2. Assign sites to tenants
Every UniFi site synced from a controller shows up under Sites. Assign each one to the tenant it belongs to - a tenant isn't limited to a single site, so an MSP managing several client locations just assigns each of that client's sites to their tenant.
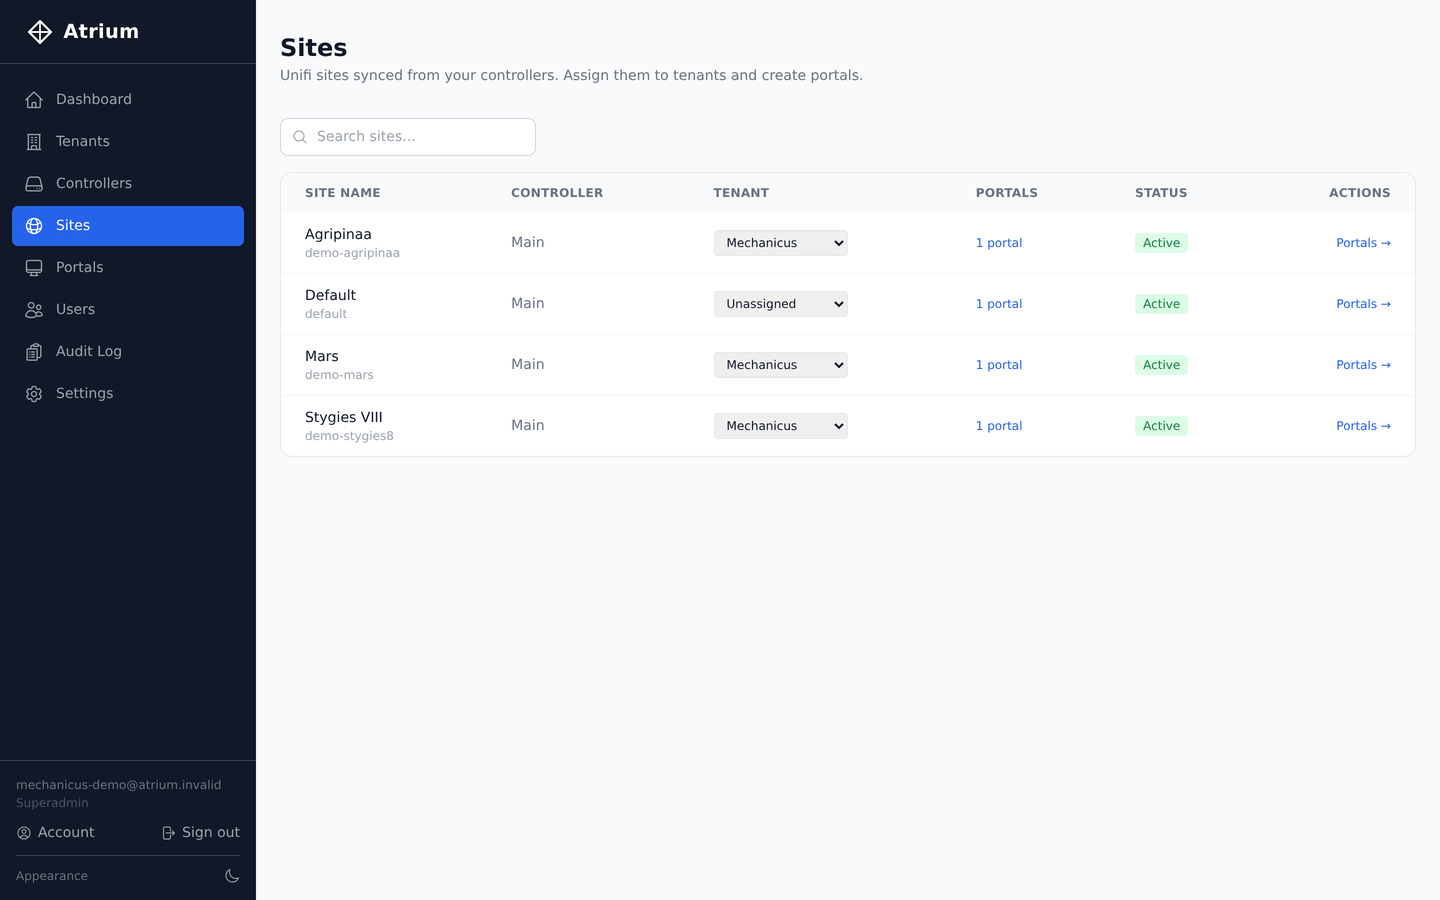
3. Build a portal for the site
Create a portal under Portals, pointed at the site. By default a portal applies to every SSID on that site - to run different portals on different SSIDs (staff WiFi, guest WiFi, a lobby kiosk network), set the SSID filter on each portal to the specific SSID(s) it should handle.
Once the portal exists, head to Configure UniFi to point guest WiFi at it.